


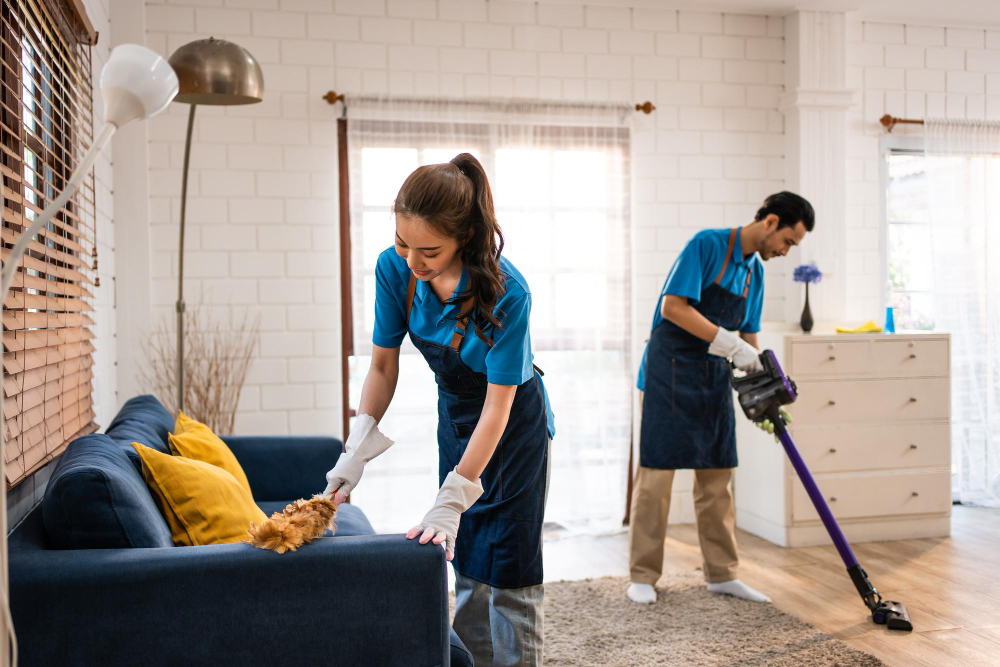
Most tenants view the final days of a lease as a race against time, but the truth is that move out cleaning is a high-stakes financial negotiation. Your security deposit is likely one of the largest sums of money you have tied up in a single asset, and a single greasy extractor fan or a dusty skirting board is often all a landlord needs to justify a heavy deduction.
In our experience, landlords and letting agents aren’t just looking for a “clean” house; they are looking for a property returned in the exact condition recorded in your original inventory report. If you fall short of the “professional standard” required by most tenancy agreements, the landlord may hire a move out cleaning company at your expense—usually at a much higher rate than if you had booked the service yourself.
This isn’t just a list of chores; it’s a strategic guide to ensuring you walk away with your full deposit.
The Invisible Standard: What DIYers Usually Miss
Before you start your move out home cleaning, you need to understand the “Inventory Clerk” mindset. They aren’t just looking at the middle of the floor; they are looking at the edges, the tops, and the insides of things.
- The “Empty” Rule: Never attempt a deep clean while boxes are still in the house. Dust hides behind furniture, and you’ll inevitably create more mess as you move things out.
- The Eye-Level Test: Run your hand along the top of every door frame, picture rail, and curtain rod. These are the “tells” that signal to an inspector whether the cleaning was thorough or just a formality.
- Light and Air: Replace every blown lightbulb and wipe down the vents of every extractor fan in the house. A dark room or a dusty vent suggests a lack of maintenance, which invites closer scrutiny of the rest of the property.
The Room-by-Room Inspection Survival Guide
To avoid disputes and secure your deposit, you must move beyond surface cleaning and focus on the specific areas that professional inventory clerks prioritise. In our experience, a structured approach is the only way to ensure nothing is missed during the rush of moving day.
1. The Kitchen: The Primary Source of Deposit Disputes
In the moving out cleaning, the kitchen is the most critical battleground. We have seen more deposits lost over “greasy surfaces” than almost anything else.
The Appliance Deep Dive
- The Oven Overhaul: This is the 1 item on every inspector’s list. You must thoroughly clean the oven, including the racks, trays, and glass door. If there is burnt-on carbon or grease between the glass panes of the door, it will likely be flagged.
- The Extractor Trap: Don’t just wipe the hood. Remove the metal filters and soak them in a degreaser. If they feel “tacky” to the touch, they aren’t clean.
- Fridge and Freezer: Defrost the freezer completely before cleaning. Ensure the rubber seals are free of crumbs and mould, and pull the unit out to vacuum the coils and the floor behind it.
- The Washing Machine: Wipe the rubber seal and clean the detergent drawer. A build-up of old soap or mould here is a common reason for a failed inspection.
Surfaces and “Hidden” Grime
- The Kickboards: Most people mop the floor but forget the vertical boards under the cupboards. Wipe these down to remove floor-level splashes.
- Inside the Units: Vacuum and wipe the inside of every single drawer and cupboard. If an agent finds a single stray peppercorn in a drawer, they may mark the entire kitchen as unclean.
- Sinks and Taps: Descale the taps and polish the sink until it is streak-free.
2. Bathrooms: Combatting Limescale and Mould
Bathrooms require deep sanitisation, not just a quick spray and wipe.
- The Limescale Battle: In hard-water areas, limescale on showerheads, taps, and screens is a top priority for inspectors. Use a heavy-duty descaler to ensure glass screens are crystal clear.
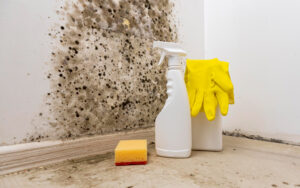
- Mould and Sealant: Inspect the grout and the silicone sealant around the tub and shower. If you see black spots, treat them with a bleach-based gel. Leaving mould untreated is often categorised as “neglect”.
- The “Unseen” Areas: Scrub behind the toilet pedestal and the floor area behind the sink. These areas are magnets for hair and dust that DIYers often overlook.
3. Living Rooms and Bedrooms: The Detail Checklist
These rooms seem simple, but the sheer volume of “touch points” makes them time-consuming.
- Walls and Marks: Remove scuffs and fingerprints from walls, light switches, and door handles.
- Inside Storage: Clean the inside of wardrobes and shelves. Don’t forget to wipe the top of the wardrobe if it isn’t built-in.
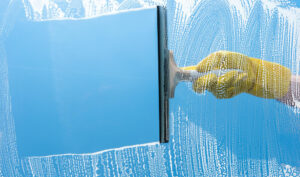
- Windows and Frames: Internal glass must be spotless, but you must also wipe the window frames and sills. Open the windows and vacuum the soot and debris out of the internal tracks.
- Carpets and Floors: Vacuum thoroughly, including the edges where the carpet meets the skirting boards.
DIY vs. Professional Move Out Cleaning Services
Many tenants attempt to handle moving out cleaning themselves to save money, but the risks are often higher than the rewards.
The DIY Reality
- Time: A proper deep clean of a two-bedroom home to an inspection standard can take 12 to 16 hours of intensive labour.
- Equipment: Most home vacuum cleaners lack the suction power of professional-grade equipment, especially for carpets.
- Risk: If you miss a detail, the landlord deducts the cost from your deposit—and you have no recourse.
Why Choose a Professional Move Out Cleaning Company?
- Inspection Knowledge: Hiring a specialist move out cleaning company means you’re benefiting from years of experience, seeing exactly what triggers a failed inspection.
- The Re-Clean Guarantee: Reliable move out cleaning services often include a guarantee. If the landlord is unhappy with any area, the team returns to fix it for free.
- Paperwork as Protection: Providing a receipt for a professional clean is a powerful shield during a deposit dispute. It proves you took your obligations seriously.
When to Book Your Move Out Cleaning for Maximum Impact
Timing is everything. If you clean too early, dust will settle before the inspection. If you clean too late, you’ll be rushed and miss details.
- One to Two Days Before: We recommend booking your move out cleaning services for 24 to 48 hours before the final walkthrough. This ensures the “fresh” clean scent is still present when the inspector walks in.
- The Final Walkthrough: Once the cleaning is finished, do one last sweep. Take high-quality photos and videos of every room, including the inside of the oven and the back of cupboards. This is your primary evidence if a landlord makes an unfair claim.
The Bottom Line
A successful move is about moving forward without a financial headache. Whether you choose to tackle this move out cleaning checklist yourself or hire a specialist move out cleaning company to handle the heavy lifting, attention to detail is your only solution for securing your deposit.
Want to eliminate the risk of a failed inspection? To avoid last-minute stress and protect your deposit, consider hiring experts who specialise in this specific type of deep clean. For reliable, inspection-ready results, contact Urbanshine Cleaners today.