


A bathroom that gets cleaned every week still has problems. Grout darkens slowly over months, even in a well-maintained bathroom, because the fibres absorb soap residue and moisture in ways a standard weekly clean does not address. Limescale builds under the base of taps, inside the showerhead, and across the screen in a way that is invisible until it is very visible. Mould begins in the silicone seals long before it shows on the tiles. The toilet bowl develops a waterline ring that a surface wipe works around rather than removing.
A proper bathroom deep clean addresses all of this at once and systematically. This guide covers exactly how to do it: the right order of work, the products that actually make a difference, where most people quit too early, and when calling a professional produces a better outcome than doing it yourself.
What You Need Before You Start
Getting the products and tools together before you begin saves significant time. Stopping to look for something mid-clean breaks the flow and extends the job.
- Limescale remover — Viakal or a strong own-brand equivalent. Not a general bathroom spray.
- Dedicated grout brush or an old toothbrush
- Non-scratch scrubbing pad — important. A rough scouring pad scratches acrylic surfaces and chrome.
- Two microfibre cloths — one for cleaning, one for drying
- A squeegee for the shower screen and tiles
- White distilled vinegar in a spray bottle
- Bicarbonate of soda
- Bleach or a mould-specific bathroom spray
- Rubber gloves throughout
Open the bathroom window before you begin and keep it open. If you are using bleach or a caustic product, the ventilation is not optional.
Step 1: Clear the Room and Pre-Treat (10 Minutes)
Remove everything from surfaces: toiletries, soap dispensers, toothbrush holder, towels, bath mat, and anything stored inside the shower or on ledges. Put the bath mat through the washing machine if it needs it.
Pre-treating is the step most people skip, and it is the one that determines how hard you work on everything else. Do all of the following before you start scrubbing anything:
- Apply bleach or toilet cleaner under the toilet rim — leave it to work for the entire time you clean the rest of the bathroom
- Apply lime
- scale remover to the base of all taps and around the tap spout where the scale ring forms
- Apply limescale remover to the shower screen
- Soak the showerhead — fill a plastic bag with white vinegar, secure it around the showerhead with an elastic band or tie, and leave it for at least 30 minutes. If the showerhead is removable, put it in a bowl of vinegar.
Leave all pre-treatments to work while you do the tiles and grout. The products need dwell time — applying them and immediately scrubbing removes most of the benefit.
Step 2: Tiles and Grout (20–40 Minutes)
Grout is porous. It absorbs soap, skin oils, and moisture with every shower regardless of how often you clean the surface, because a standard cleaning cloth does not get into the lines. This is why grout turns progressively darker even in a bathroom that looks well-maintained.
Spray the entire tiled area with bathroom cleaner and leave two minutes. Using the grout brush or toothbrush, scrub each grout line individually. Work in rows from top to bottom. The systematic approach is important — random scrubbing misses lines.
For grout that is heavily discoloured: make a thick paste of bicarbonate of soda and a small amount of water. Press it into the grout lines with the brush and leave ten minutes before scrubbing. For black mould in grout: apply neat bleach directly with the toothbrush, leave ten to fifteen minutes, scrub and rinse. Keep the window open during this step.
Wipe tiles with a damp microfibre cloth and dry immediately with the second cloth. Tiles left to air-dry streak badly, especially in a London hard water area.
Step 3: Shower Screen and Bath (15–25 Minutes)
The limescale remover you applied in Step 1 should have been working for 20 to 30 minutes now. The haze on shower screens — that cloudy film that does not come off with a regular wipe — is a combination of soap scum and hard water calcium deposits. Limescale remover softens it. Without pre-treatment, removing it by scrubbing alone is far harder.
Use a non-scratch scrubbing pad on the screen, working in small circular motions. Rinse thoroughly. Use the squeegee to remove the water, then buff dry with the microfibre cloth. If a haze remains, re-apply limescale remover, leave another fifteen minutes, and repeat.
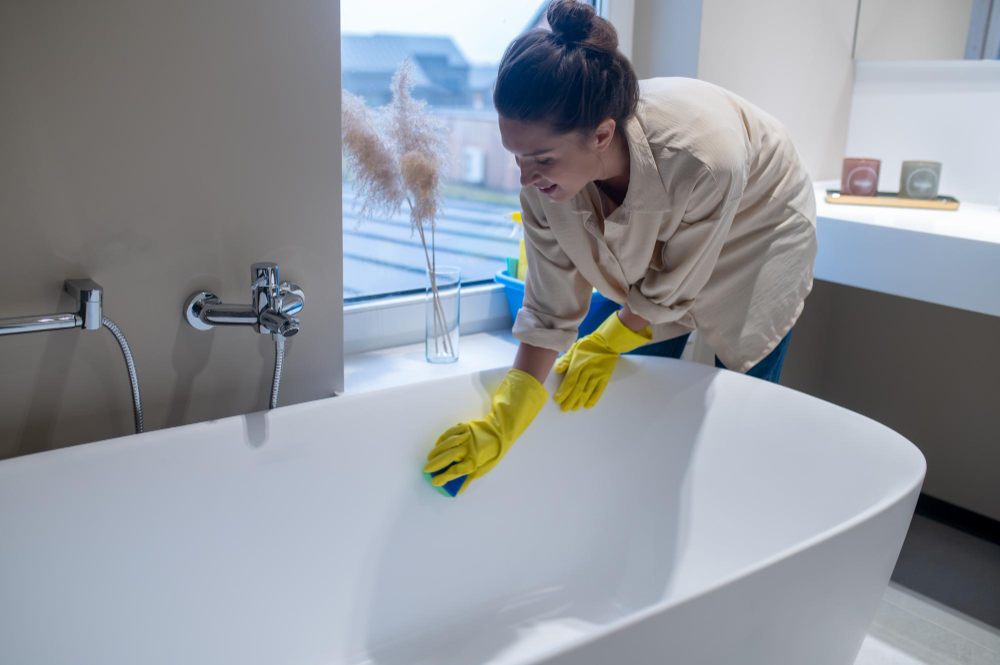
For an acrylic bath, use a cream cleaner rather than an abrasive pad — abrasive pads leave fine scratches in acrylic that accumulate and become visible. For an enamel bath, you can be more vigorous on stubborn marks.
Clear the drain while you are working in this area. Remove the cover, clear any accumulated hair or debris, and flush with a cup of bicarbonate of soda followed by half a cup of white vinegar. Leave ten minutes then flush with hot water.
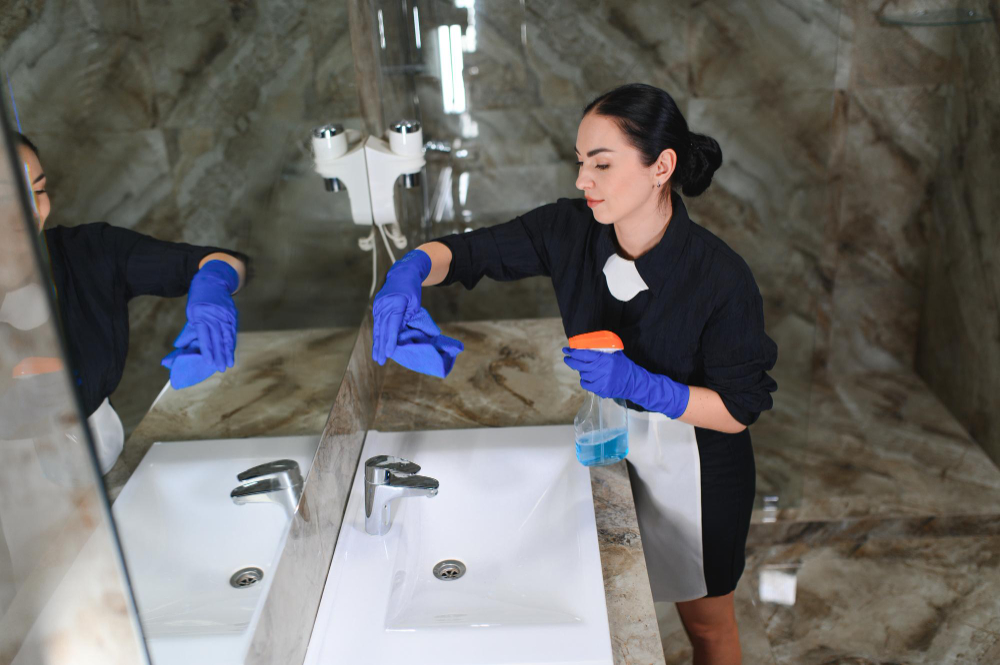
Step 4: Taps, Fixtures, and Chrome (10–15 Minutes)
The limescale remover applied to the taps in Step 1 has been working through the tile and screen steps. The ring of scale that forms around the base of bathroom taps — that thick white crust that sits right where the tap meets the basin or wall — requires a grout brush rather than a cloth to remove properly. Work around the entire base in a scrubbing motion. Rinse and immediately buff with the dry microfibre cloth.
Chrome that dries slowly after cleaning develops water marks almost immediately in a London hard water area. Buff it dry right after cleaning and it stays clean far longer.
Check the showerhead. The vinegar soak should have loosened the scale inside the nozzle holes. Use the toothbrush to scrub around the nozzle face. If removing it for soaking, run it under hot water and scrub the nozzle face before replacing.
Step 5: Toilet (10–15 Minutes)
The bleach applied under the rim in Step 1 has been working for the length of the clean — typically 40 to 60 minutes if you have been working through the steps above. Scrub the bowl now with the toilet brush, paying specific attention under the rim where bacteria concentrate. Flush to rinse.
Wipe the outside of the toilet thoroughly: the top of the cistern, the lid, the seat on both sides, the outside of the bowl, and the base. Then the floor area around the base. This last area — the floor immediately around the toilet base — is examined on every checkout inspection and flagged in a significant proportion of them. It is consistently overlooked in standard cleaning.
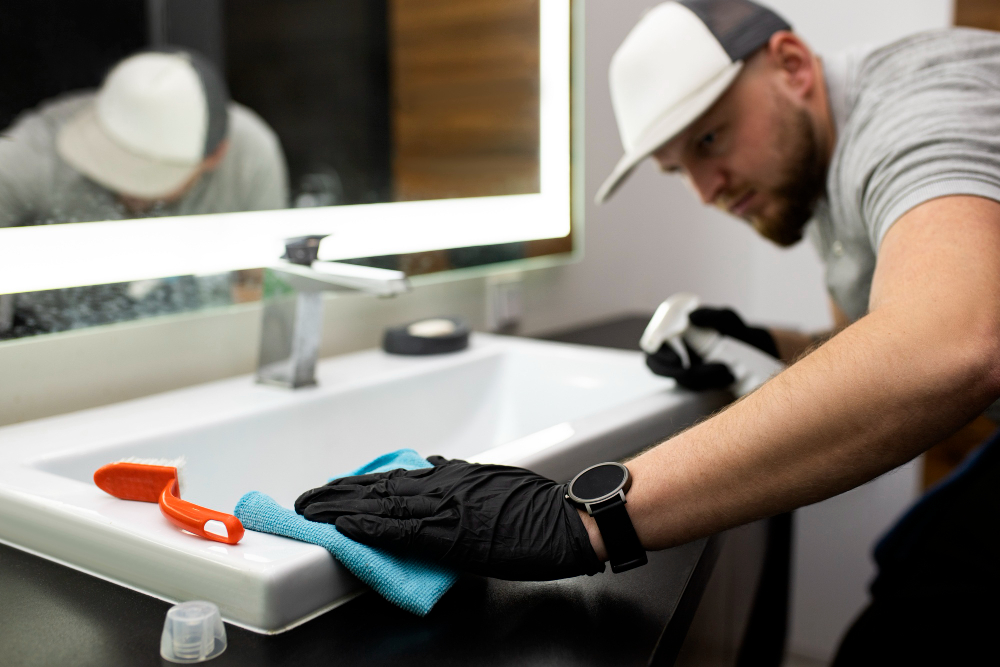
Step 6: Basin, Mirror, and Storage (10 Minutes)
Clean the basin inside, paying attention to the plughole and the overflow hole — use the toothbrush on the overflow opening, which collects residue but is never cleaned with standard tools. Wipe the outside of the basin and the pedestal or vanity unit below.
Clean the mirror with glass cleaner or a solution of equal parts water and white vinegar. Buff immediately and completely dry with the microfibre cloth — any moisture left on the mirror in a London hard water area leaves marks within minutes.
Wipe inside any bathroom storage: medicine cabinet, under-sink cupboard, or any shelving. Replace items neatly.
Step 7: Floor and Extractor Fan (10 Minutes)
Sweep or vacuum the bathroom floor before mopping. Applying a mop to an unswept bathroom floor just moves debris around — you end up with a wet floor covered in hair and dust rather than a clean one.
Mop with a disinfectant cleaner appropriate for your floor type. Allow to dry before replacing the bath mat and returning items to the room.
Wipe the extractor fan vent cover with a damp cloth. A blocked or dusty extractor fan is one of the leading causes of persistent bathroom condensation and mould — it does not drain the room of moisture effectively when coated in dust and grease. This takes two minutes and almost never gets done.
How Long Does a Full Bathroom Deep Clean Take?
| Bathroom Type | Approximate Time Working Alone |
|---|---|
| Standard single bathroom | 60 to 90 minutes |
| Family bathroom with separate shower and bath | 90 to 120 minutes |
| Bathroom with heavy limescale and darkened grout | 120 to 150 minutes |
| En-suite shower room | 45 to 60 minutes |
How to Maintain the Standard Between Deep Cleans

A few habits substantially reduce how often a full deep clean is needed and how hard it is when you do it:
- Use a squeegee on the shower screen and tiles after every shower — this takes ten seconds and reduces limescale and soap scum build-up by around 60 per cent
- Wipe the basin and taps weekly — five minutes, prevents scale from bonding to the surface
- Keep the extractor fan running during and for at least 20 minutes after showering
- Apply limescale remover to taps and the shower screen monthly if you have hard water — a ten-minute soak once a month prevents the hour-long treatment the alternative requires
When to Book a Professional Deep Clean
Doing it yourself works well for routine deep cleans two or three times a year. UrbanShine Cleaners is the better option when: the bathroom has not been properly deep cleaned in over a year; limescale is very heavy on the screen or tiles; mould in grout or silicone has not responded to bleach treatment at home; or the property is approaching an end of tenancy inspection.
UrbanShine Cleaners’ professional deep cleaning service at urbanshinecleaners.co.uk/deep-cleaning/ includes a thorough bathroom deep clean as part of every whole-property booking across London.
Products Worth Having Permanently in the Bathroom
The right product in the right place makes the difference between a bathroom that takes ten minutes to clean each week and one that takes forty. Having these products stored in the bathroom and accessible means you can deal with issues as they arise rather than letting them build:
- Limescale remover — Viakal or equivalent. Apply to taps, screens, and tiles when you see scale forming, not when it is already heavy.
- Grout pen — a grout pen in a matching colour covers discoloured grout lines between deep cleans and makes the bathroom look dramatically cleaner without any scrubbing
- Bleach spray — for toilet maintenance and any mould spots on grouting
- White distilled vinegar spray — for weekly glass, mirror, and tap maintenance
- Squeegee — mounted in the shower, used after every shower. This single tool reduces limescale formation on the screen by around 60 per cent.
The Deep Clean Frequency That Actually Works
For most London bathrooms, a full deep clean every three months is the right interval. At this frequency, the issues being addressed at each clean are moderate rather than severe — grout is darker but not stained, limescale is present but not thick, the drain is slower but not blocked. Three-monthly deep cleaning is more efficient than annual deep cleaning because each session is shorter and the products do not need to work as hard.
If you maintain the bathroom properly between deep cleans — squeegee after showers, weekly wipe of the basin and taps, occasional limescale spray on the showerhead — you can extend this to every four to five months without the clean taking significantly longer.
Professional Deep Cleaning as Part of UrbanShine Cleaners’ Service
Every whole-property deep clean booked through UrbanShine Cleaners includes a systematic bathroom deep clean following the approach described in this guide. The team works through the pre-treatment, tile and grout scrubbing, limescale removal, toilet cleaning, and floor work in a structured order that ensures nothing is missed.
For properties where the bathroom is the specific concern — heavy limescale, persistent mould in grouting, or shower screens that have not been properly cleaned in a long time — this is worth mentioning specifically at booking so the team allocates appropriate time and brings the right products. UrbanShine Cleaners covers Central London, South London, and East London. Book at: urbanshinecleaners.co.uk/deep-cleaning/
Frequently Asked Questions: Bathroom Deep Cleaning
Can black mould in bathroom grout be fully removed? It depends on the extent and how long it has been present. Surface mould — present for weeks to a few months — responds well to bleach treatment. Deep-set mould that has been present for a year or more may have permanently stained the grout. In this case, regrouting is the long-term solution, but bleach treatment removes the surface mould and stops it spreading.
What causes mould in bathrooms that are cleaned regularly? Insufficient ventilation is almost always the cause. Without an effective extractor fan running during and after showers, moisture remains in the room long enough to condense on cold surfaces and feed mould growth. Cleaning removes mould once it appears; ventilation prevents it from forming.
Is it safe to mix bleach and vinegar in the bathroom? No. Bleach and vinegar should never be used together or on the same surface without thoroughly rinsing between applications. The combination produces chlorine gas, which is harmful at even low concentrations in a small enclosed space. Use one or the other, rinse completely, then use the second if needed.
| Book a professional bathroom deep clean — whole-property deep cleans across Central London, South London, and East London. |